We did the pH test by filling the test tube with the pH indicator and adding 3 of 0.5g spoonfuls of our soil. We then mixed the test tube for a minute and allowed to sit for 10 minutes. This led us to be able to calculate the pH of our soil by matching the color with the pH Color Chart. Our soil's pH was 7.5.
 |
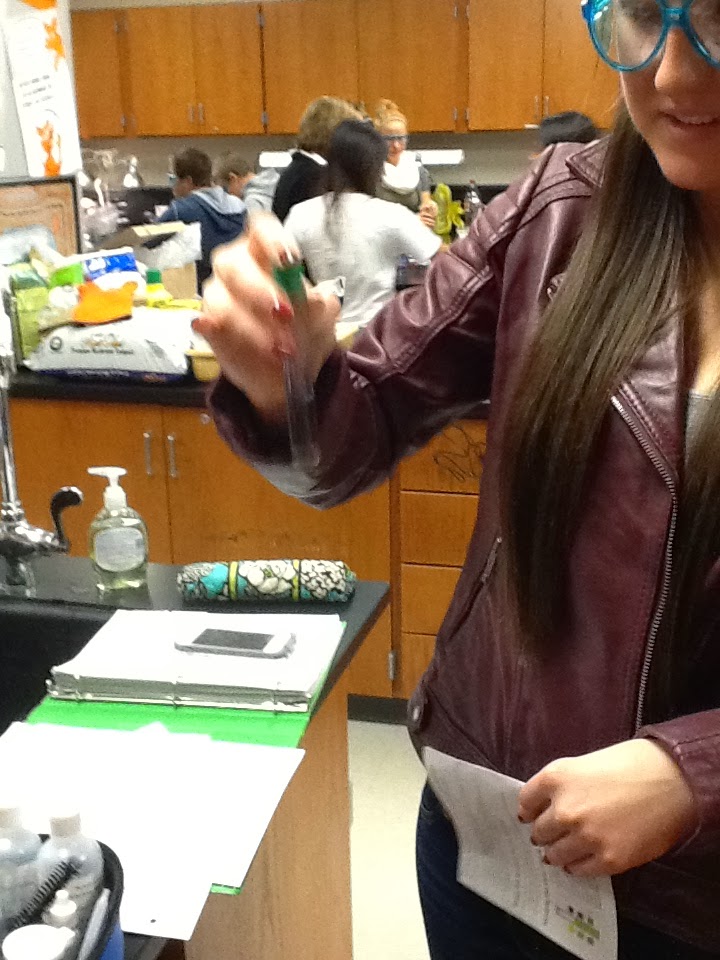
| Rachel shaking the pH indicator and soil together |
 |
The new solution looks like its inbetween the 7 and 8 making the pH 7.5
|
For the phosphorous test we filled the test tube with the phosphorus extracting solution. We then added 3 spoonfuls of 0.5g of soil. We capped and mixed gently for one minute. Then we uncapped the test tube and waited for the liquid above the soil to become clear. Then we used a pipet to transfer the clear liquid into a clean test tube. When the clear liquid was in a clean test tube we added 6 drops of Phosphorous Indicator Reagent and capped and then mixed. We then added one Phosphorous Test Tablet and mixed until it dissolves. We matched the color with the Phosphorous Color Chart to get a trace of phosphorous in our soil.
 |
| The Phosphorous Test Tablet being shaken so it will dissolve |
 |
| The Phosphorous shows there is a trace of phosphorous in our soil. |
For the Nitrogen Test we filled the test tube with Nitrogen Extracting Solution and put in two measures of 0.5g of our soil. We capped and mixed for one minute. We removed the cap and allowed the soil to settle. We used a clean pipet to transfer the clear liquid to a new and clean test tube. We used the 0.25g spoon to add two measures of Nitrogen Indicator Powder to the clear liquid and mixed it. We waited five minutes and were able to use the Nitrogen Color Chart to see that our soil had a trace of nitrogen.
 |
| The solution when we had to wait five minutes for the pink color to develop |
 |
| As you can see our soil only has a trace of Nitrogen |
For the Potassium Test we filled the test tube with Potassium Extracting Solution. We added 4 0.5g spoonfuls of our soil. We capped and shook the test tube vigourously for a minute and then we allowed the soil to settle. We used a pipet to transfer the clear liquid to a different test tube. We added one Potassium Indicator Tablet to the clear liquid and mixed until the tablet dissolves. We then added the Potassium Test Solution with two drops at a time. Using the Potasium End Point Color Chart we saw that our soil's potassium need 14 drops so it was medium, which means the potassium level is 120-200 lbs/acre.


Based on these results we need to lower our pH a bit. Since ours was 7.5 it should be between 5.5 and 7.0. We are low on nitrogen and phosphorous. We have a trace of both nitrogen and phosphorous and we need them to be at least medium. The ideal pH range would be 5.5 to 7.0 but the plants around this soil must have had 7.5. Some of the plants around this dirt looked fairly healthy while others did look like they were going to die. As you can see the plants looking like they were going to die were apart of this soil because it doesn't have enough of the nutrients to support plant life.


No comments:
Post a Comment